Watercolor Sketching
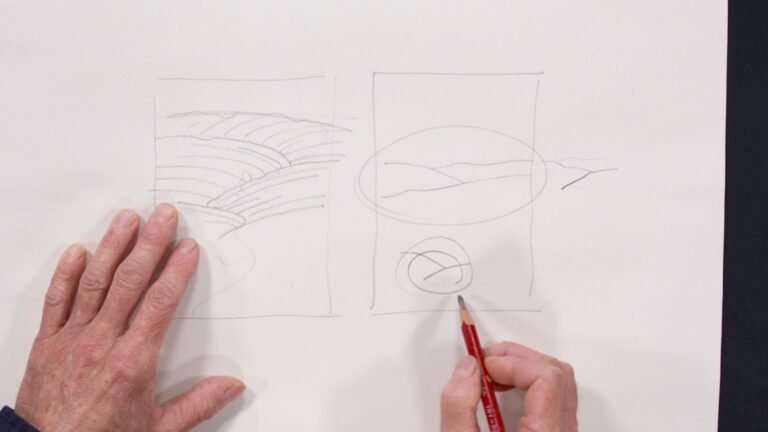
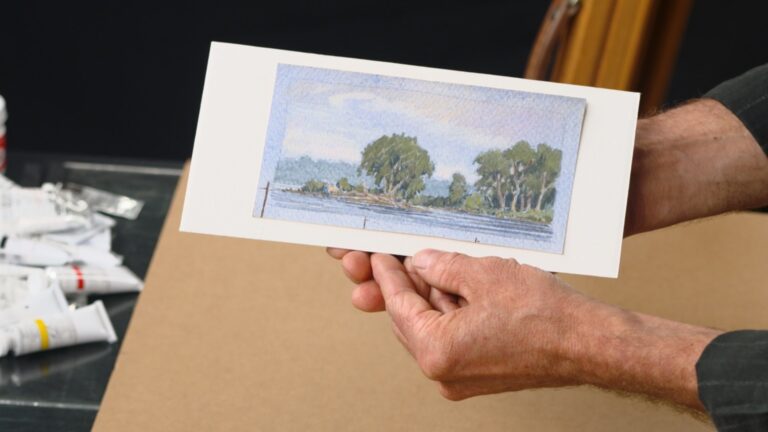
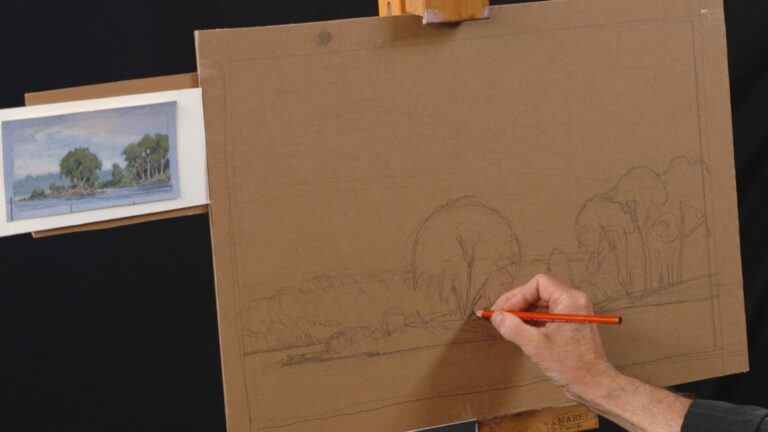
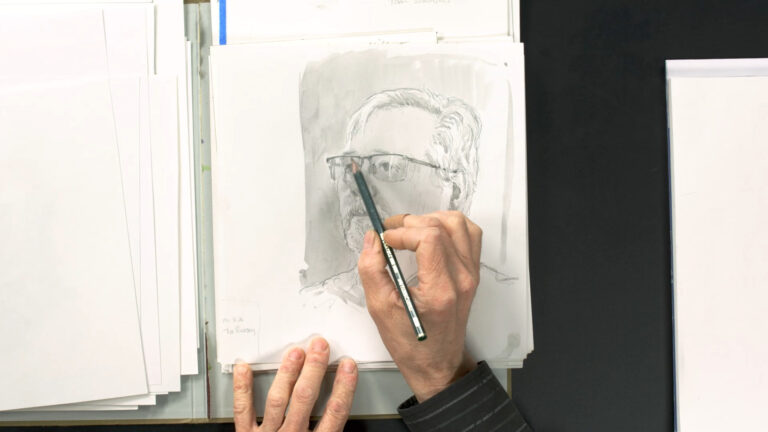
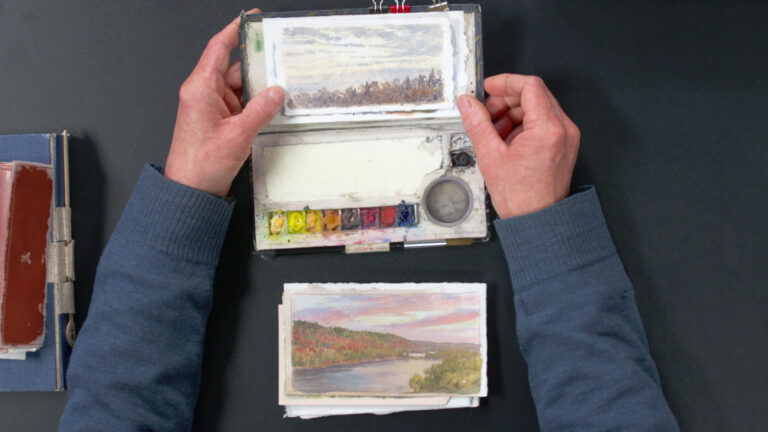
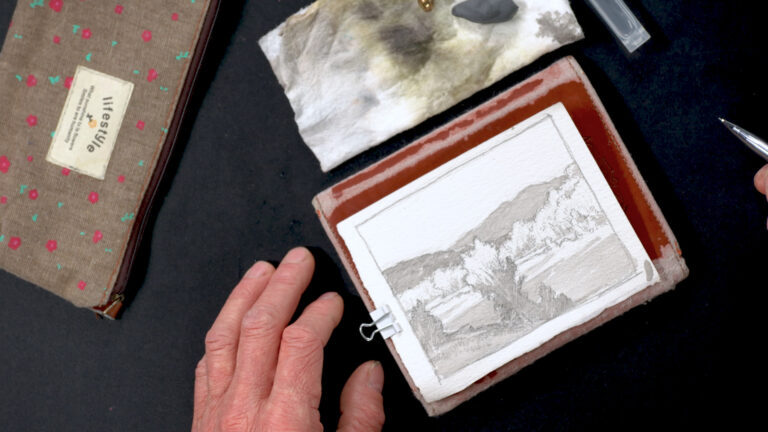
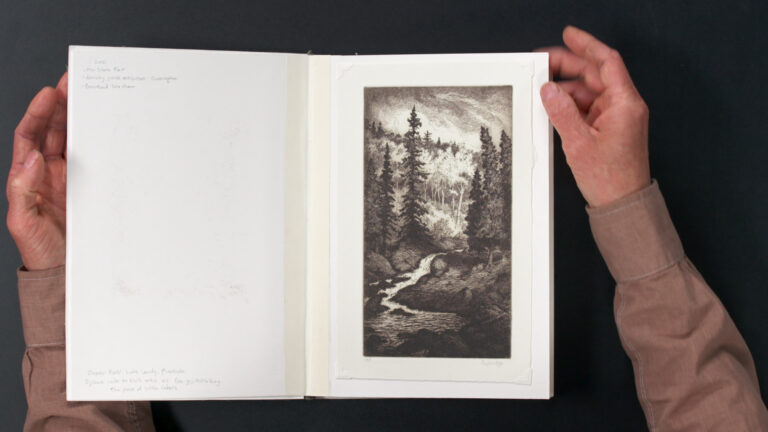
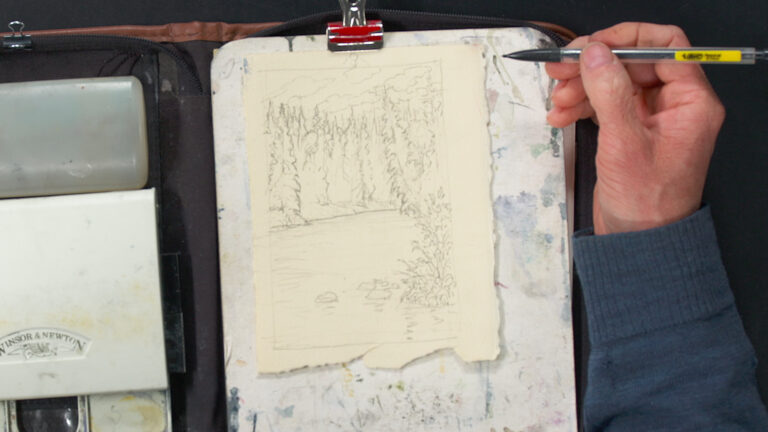
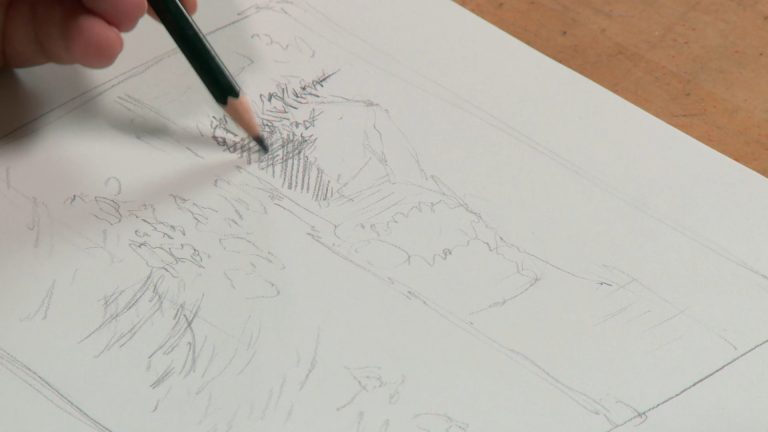
Stuart LoughridgeIn this video, watercolor artist Stuart Loughridge demonstrates watercolor techniques on his previously established pencil landscape sketch.
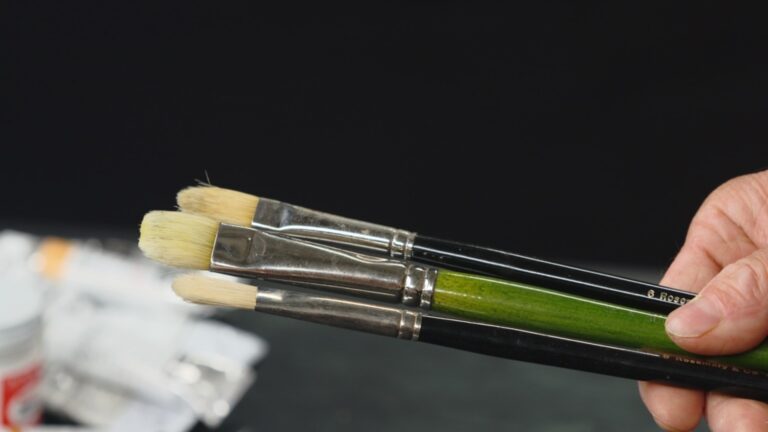
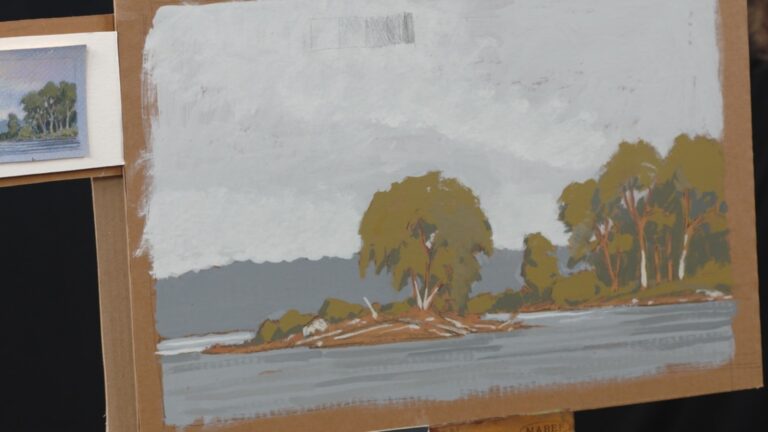
He starts working in the background and will work his way forward. With a medium-sized brush, he starts with the sky and clouds, remembering that watercolor often lightens as it dries. He’s not trying to be too particular because it is just a sketch. He’s keeping in mind the light effect that he’s trying to create as he paints. Once he’s established the sky, he moves to the farthest-distanced trees with plenty of water and pigment. In nature, the water changes fast with the sky, so he tackles that next. He’s thinking about where the sun is reflecting off of the water.
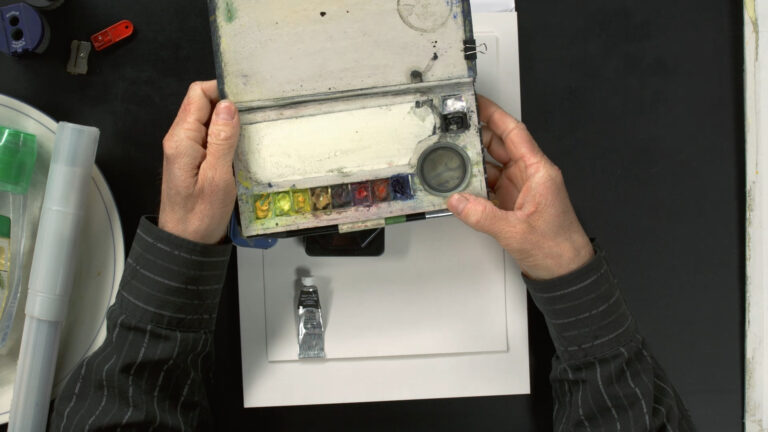
Once he has an idea of the glare of the water, he moves onto the middle-ground trees, building up the colors. He advises to be attentive of the areas you may want to avoid initially, so that you don’t cover up areas that need different treatment. Stuart does everything he can with the brush he’s chosen and the three colors he’s been working with to create unity. He’ll find the variety later. When he’s gone as far as he can with the initial colors, he moves onto some of the areas he had avoided before to add different colors. His goal is to lock in the color and refine later.
Stuart reminds us that the point of the sketch is to work quickly—don’t waste time noodling, especially in this initial wash of paint.
He demonstrates how to work up to your edges and mind the borders, covering the white of the paper. He says that after you’ve gone as far as you can with the painting being wet, you may want to take a break and let it dry so that you don’t muddy it up.
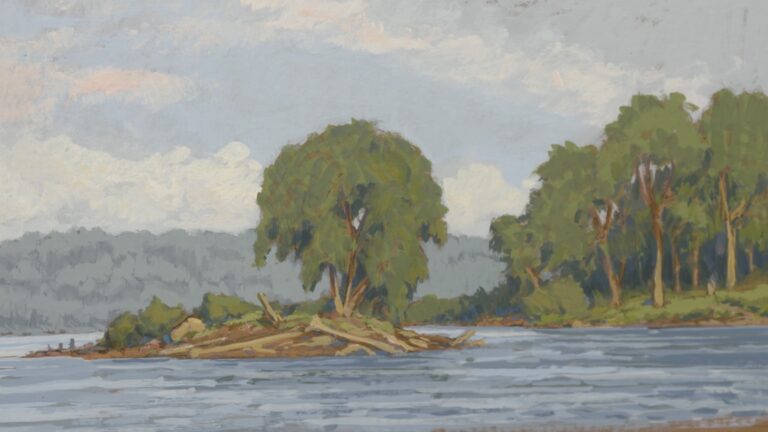
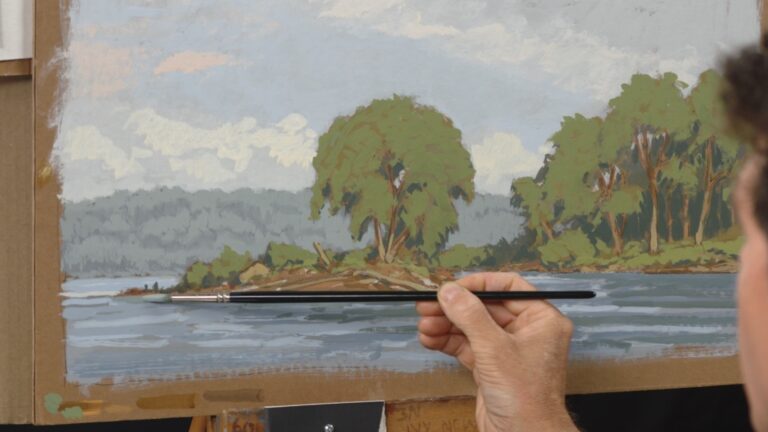
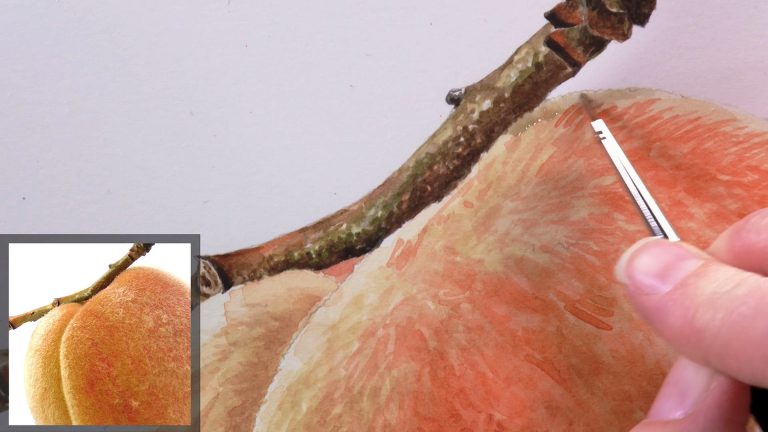
Once the first “skin” of paint is dry, you can move onto the next layer. Stuart starts by painting in finer details like rocks. He then chooses an area or passage that has background, middle ground, and foreground to concentrate on to lay down some stronger shadows. As he moves backward, he increases the transparency of the darker shadow color while carving out the foreground trees, maintaining the rim light that he’s trying to portray.
Stuart is very conscious of the pigment-to-water ratio he needs to build up the shadows—not too dark, but not too light. He works on the passage until he feels like it’s right before he moves on. He says that you can be more refined in your placement in this layer. Once the shadows feel balanced, Stuart goes back into the chroma with yellow and green. He’s working wet into wet to tie everything together and making sure it all relates. He continues to glaze thin coats of color to build up more information.
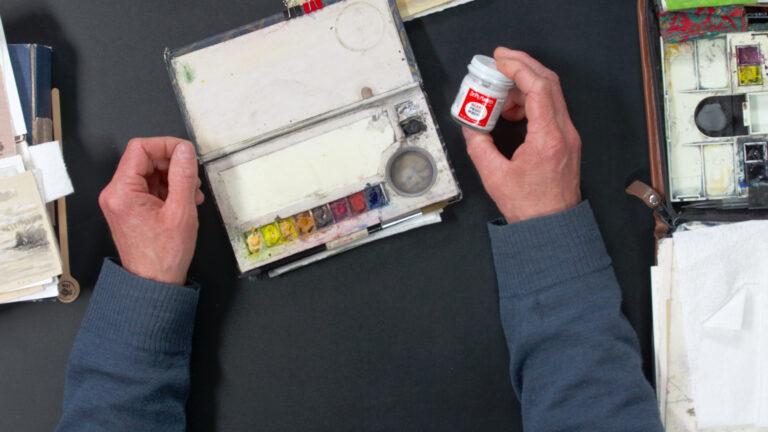
Now Stuart moves onto the opaque white to accent the rim lights on the trees that were lost to the shadows. He first focuses on the main trees to make sure they read correctly for the viewer. Then, he starts to bring subtle variations in color to the trees and bushes, building up textures and tweaking shapes. He shares that when you want a bright accent, you can put it in with pure opaque white and glaze it down later for high refraction—just make sure that you change your mixing water every time you use it so you don’t muddy up your paint. Stuart reminds us that sometimes what you do is not always the best choice, but that’s OK because it’s just a sketch.
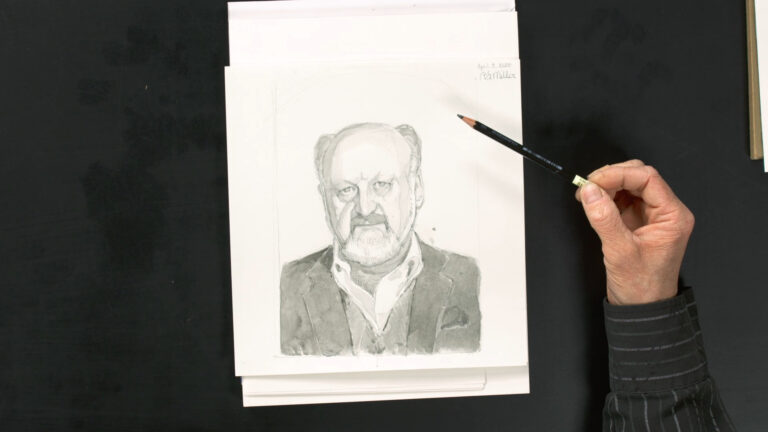
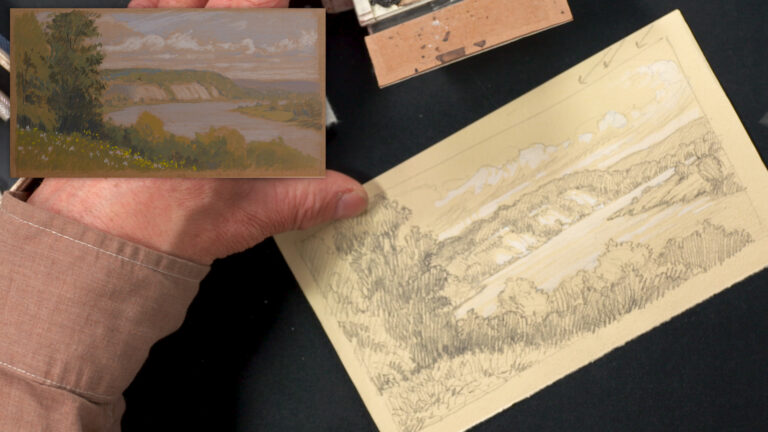
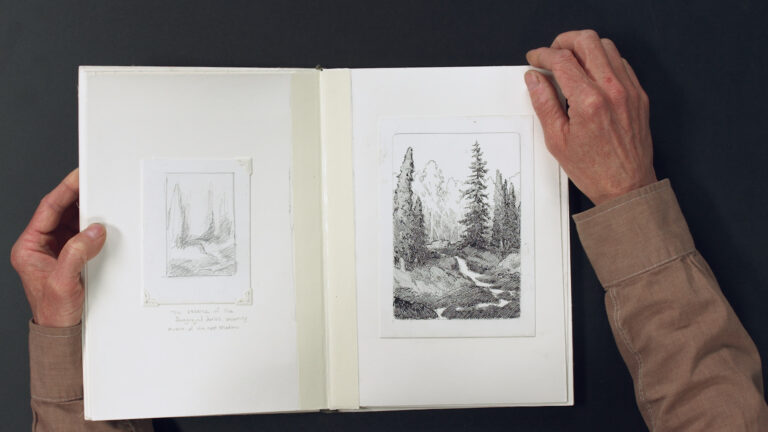
He finishes his sketch with a pencil border outline. He adds that in the field, he would take notes on the back of the paper so that he knows how to correct or improve certain things.
Explore videos by Stuart Loughridge


You may be interested in

Premium Membership
Unlock exclusive member content from our industry experts.
- 24/7 Access to Premium Visual Art Videos, Projects, and Tips
- Step-by-Step Instructional Demos, Guides, and Tutorials
- Access to Ask the Expert Program
Unlock exclusive member content from our industry experts.
- 24/7 Access to Premium Visual Art Videos, Projects, and Tips
- Step-by-Step Instructional Demos, Guides, and Tutorials
- 2 Full-Length Classes to Keep in Your Account for Life
- Access to Ask the Expert Program
Gold Membership
$340 Value
Get everything included in Premium plus exclusive Gold Membership benefits.
- 24/7 Access to Premium Visual Art Videos, Projects, and Tips
- Step-by-Step Instructional Demos, Guides, and Tutorials
- 4 Full-Length Classes to Keep in Your Account for Life
- 8 Downloadable Visual Art Guides
- Discounts on Purchase-to-Own Content in the Artist's Academy Shop
- Access to Ask the Expert Program
- Access to GOLD LIVE Streaming Events