Finishing a Pencil Portrait Drawing
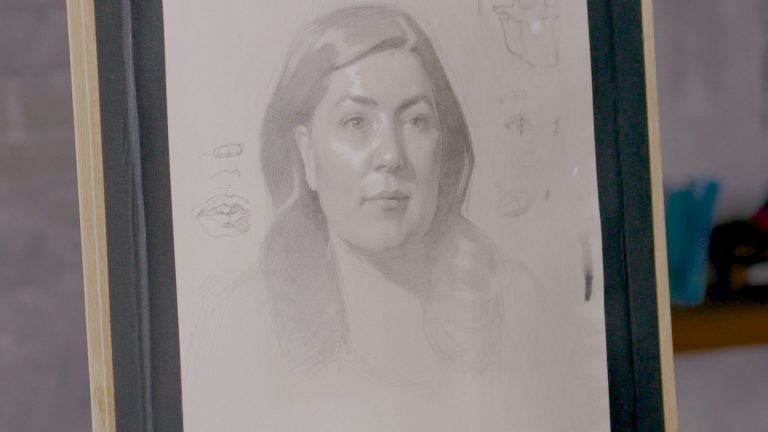
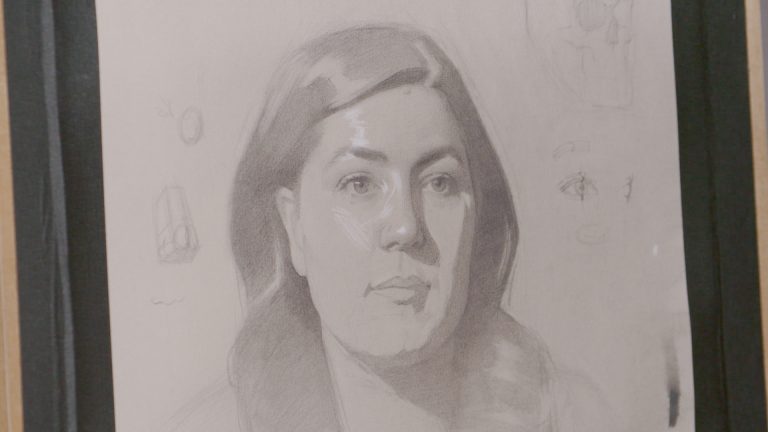
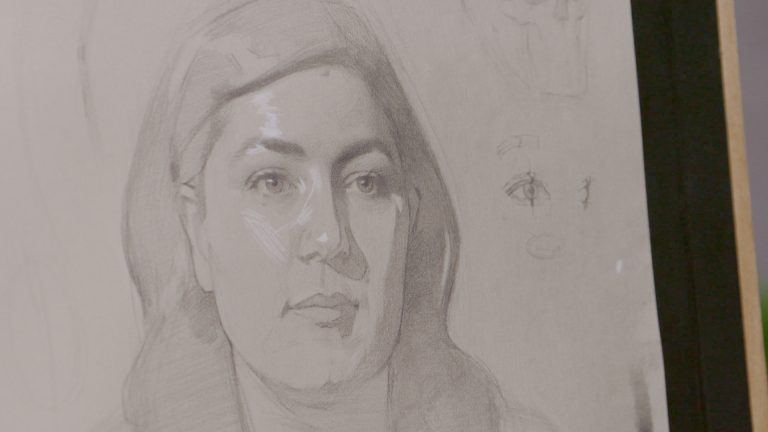
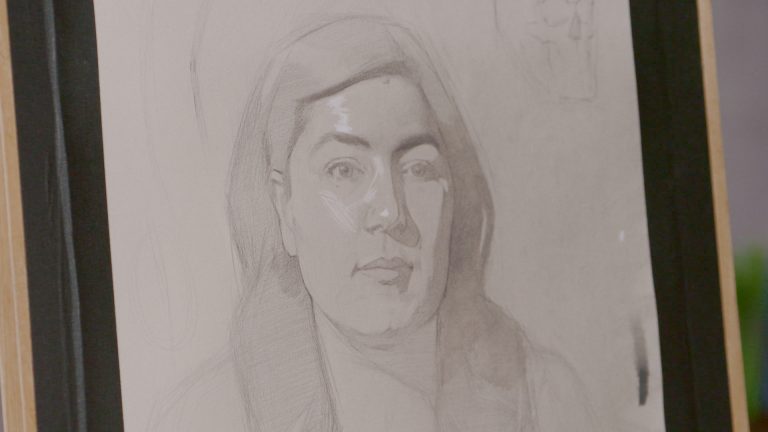
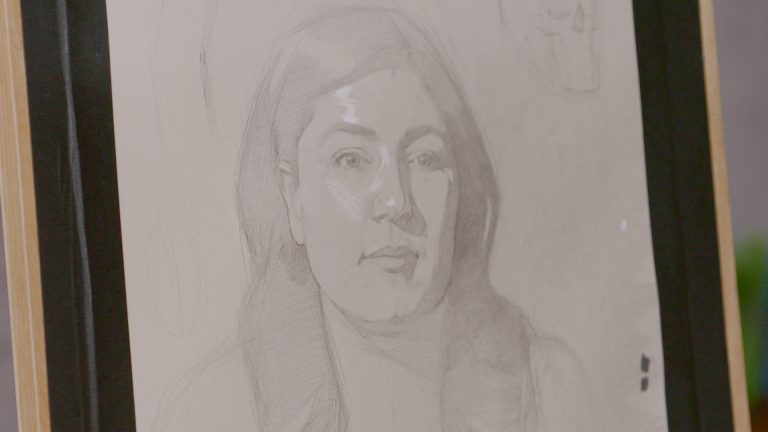
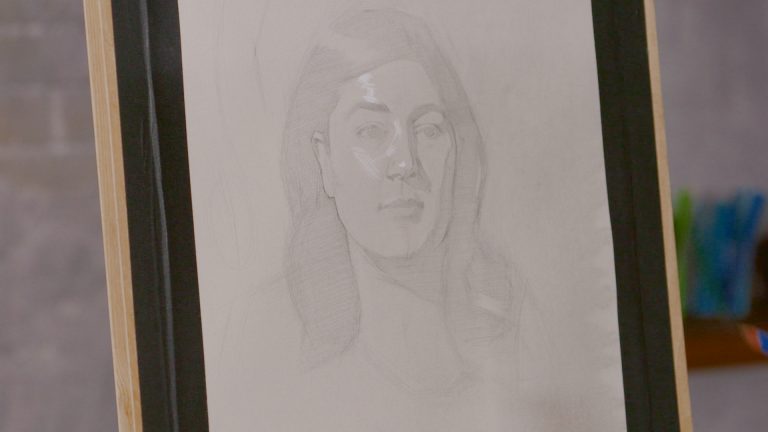
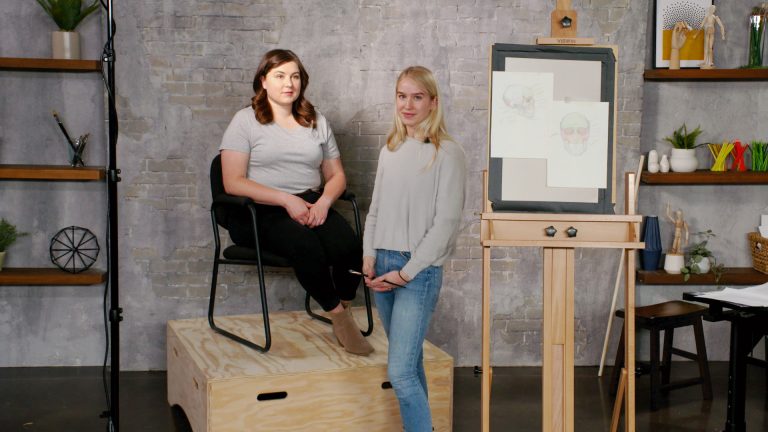
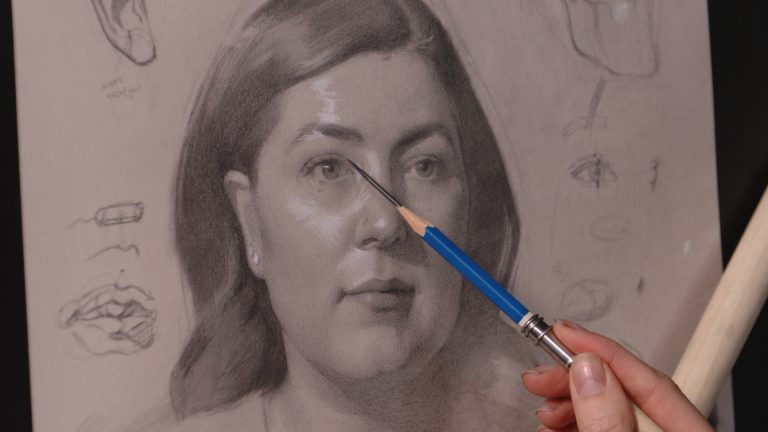
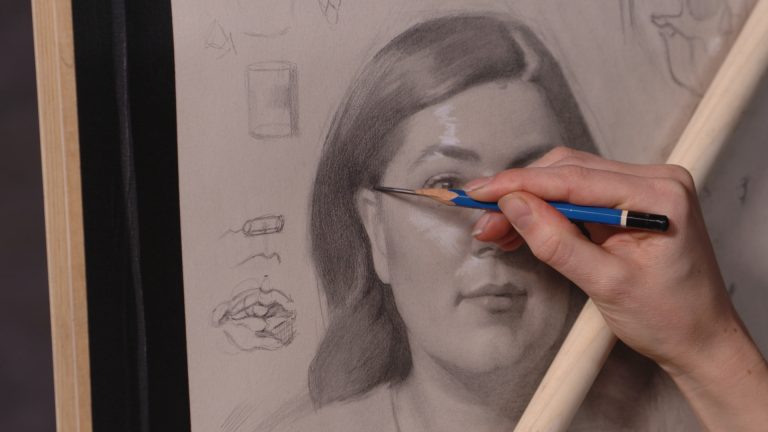
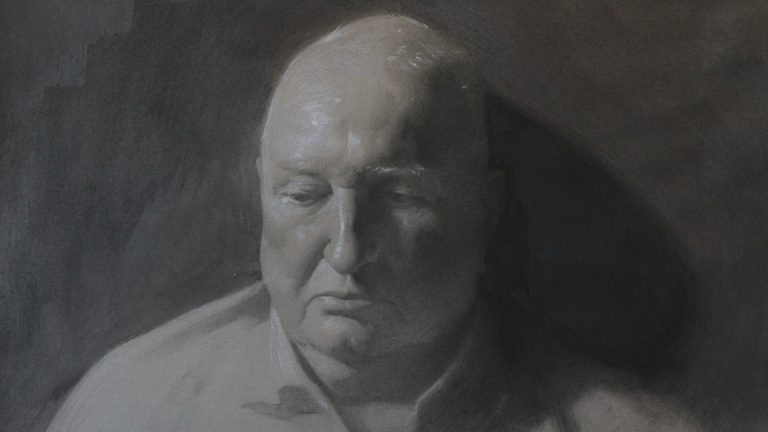
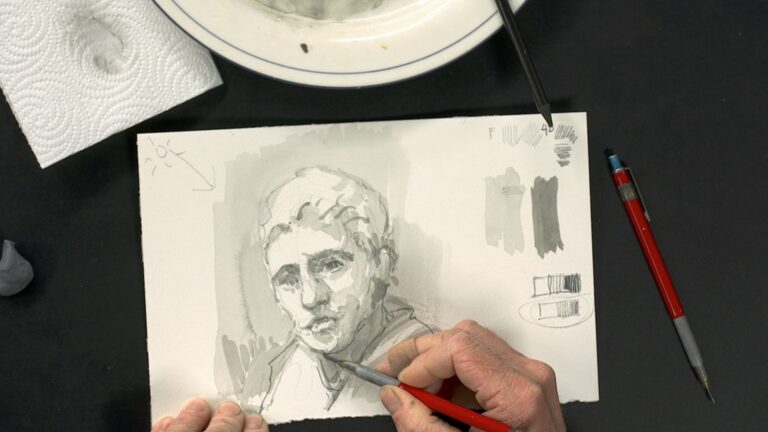
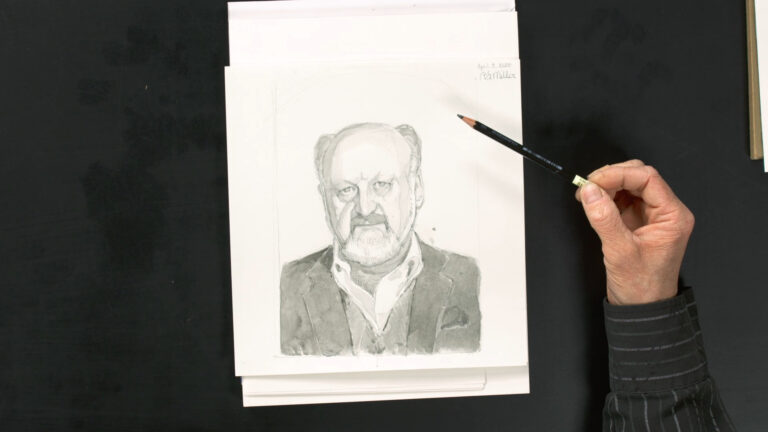
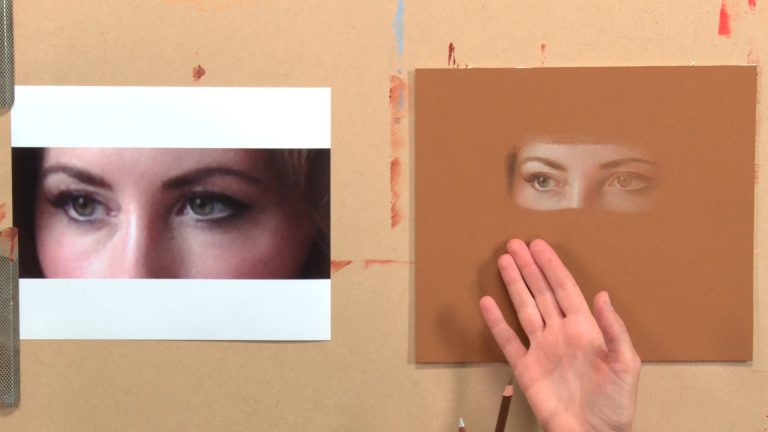
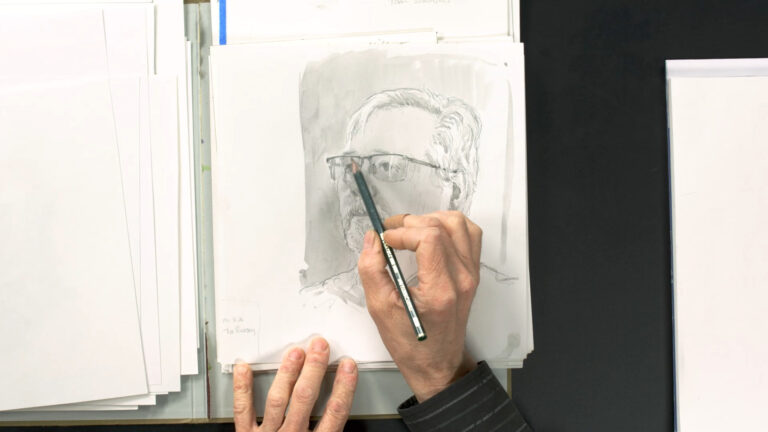
Savannah Tate CuffArtist Savannah Tate Cuff has nearly completed her portrait drawing of a live model under a single light source. After two blocking-in phases and modeling all of the features, she’s ready to finish the drawing with tips you can apply to your own drawing. This is, she says, her chance to step back and look at the drawing as a whole. To begin, she notes that the upper lip of the model looks slightly generic and too thick. She makes her first adjustment here with her eraser and pencil. She adds a slight smile gesture as well, to reflect what she sees. Savannah makes adjustments with care, not second-guessing everything but only making essential adjustments. If you have a list of 20 things to change, she says, pick half of that list and stop there. Keep in mind that your learnings will serve you in the next drawing.
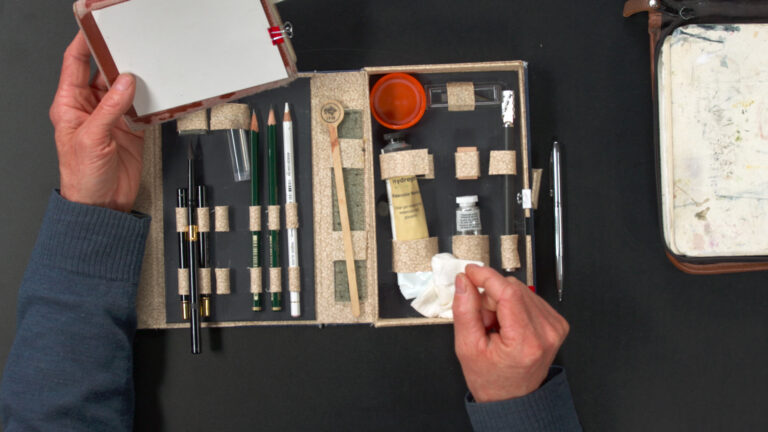
Savannah’s next adjustment is to carefully add more rendering to the area where the chin meets the cheek to turn the form down, or think sculpturally and subtly make the form turn away from the light. As before, Savannah uses a Mahl stick to prevent any smudging on her beautiful and almost-complete drawing. She darkens the lower lip and the eyelids slightly, noticing that they “popped” a little too much. If your initial drawing was soft, consider adding a few sharper accents; if you tend to include a lot of sharp accents and planes, consider softening some of those. Go back to your focal point (the eyes in this drawing) and be sure you’re happy with the drawing there, and adjust as needed. Don’t overwork — proceed with care in select spots and then proudly call your drawing done!
Explore videos by Savannah Tate Cuff

You may be interested in

Premium Membership
Unlock exclusive member content from our industry experts.
- 24/7 Access to Premium Visual Art Videos, Projects, and Tips
- Step-by-Step Instructional Demos, Guides, and Tutorials
- Access to Ask the Expert Program
Unlock exclusive member content from our industry experts.
- 24/7 Access to Premium Visual Art Videos, Projects, and Tips
- Step-by-Step Instructional Demos, Guides, and Tutorials
- 2 Full-Length Classes to Keep in Your Account for Life
- Access to Ask the Expert Program
Gold Membership
$340 Value
Get everything included in Premium plus exclusive Gold Membership benefits.
- 24/7 Access to Premium Visual Art Videos, Projects, and Tips
- Step-by-Step Instructional Demos, Guides, and Tutorials
- 4 Full-Length Classes to Keep in Your Account for Life
- 8 Downloadable Visual Art Guides
- Discounts on Purchase-to-Own Content in the Artist's Academy Shop
- Access to Ask the Expert Program
- Access to GOLD LIVE Streaming Events