
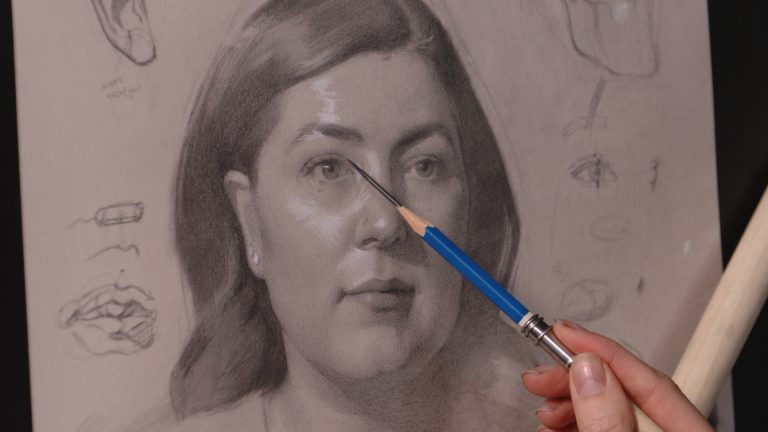
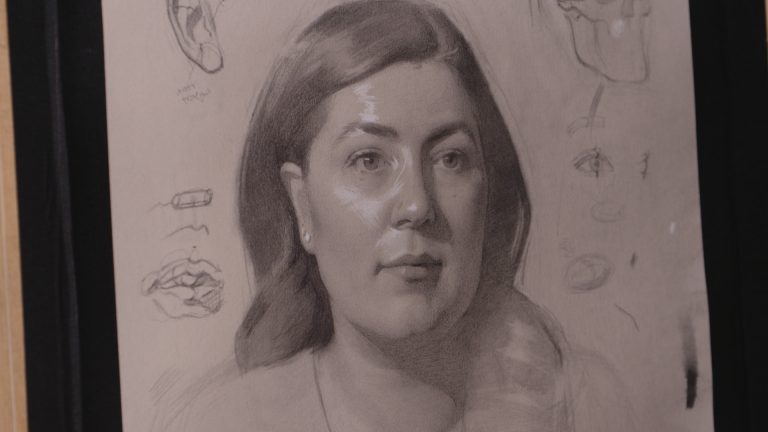
Rendering the Nose
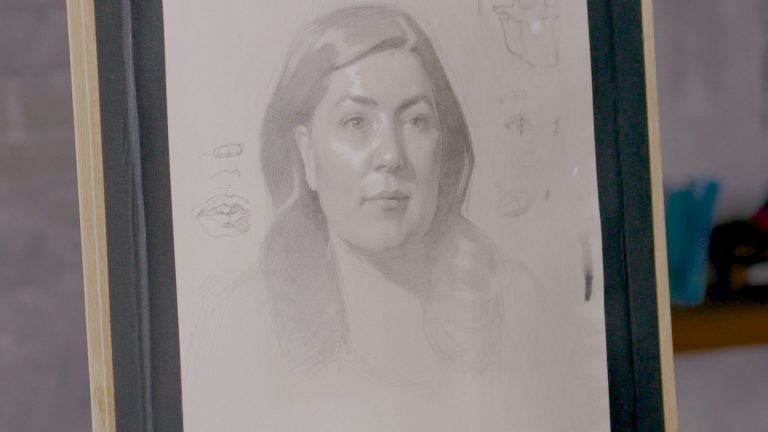
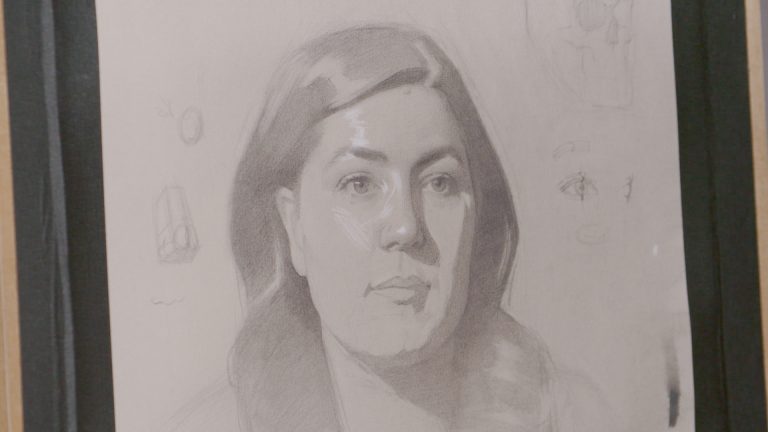
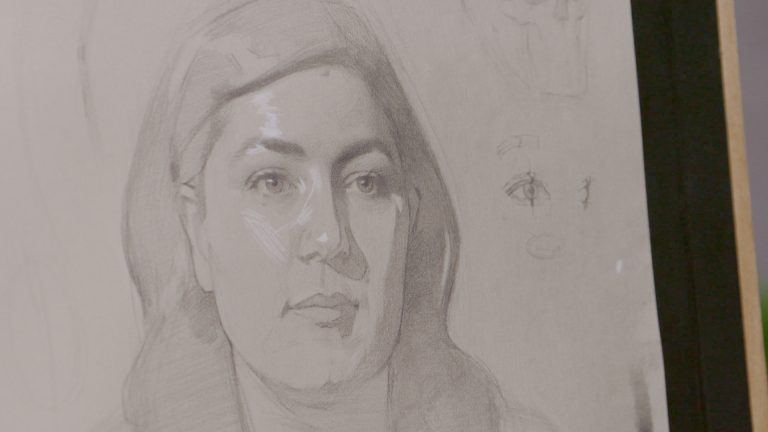
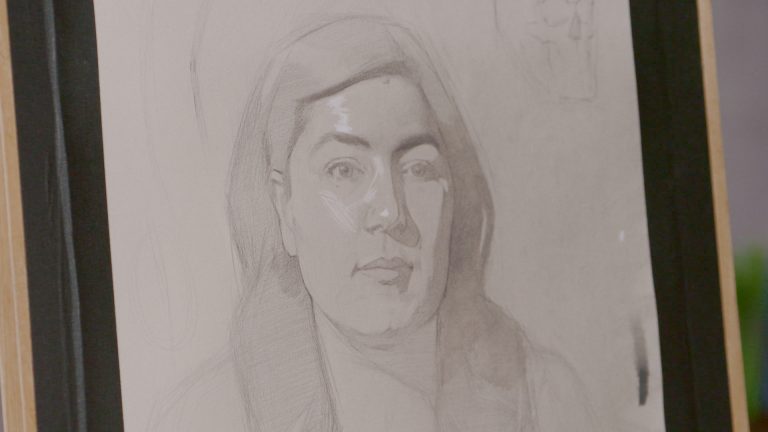
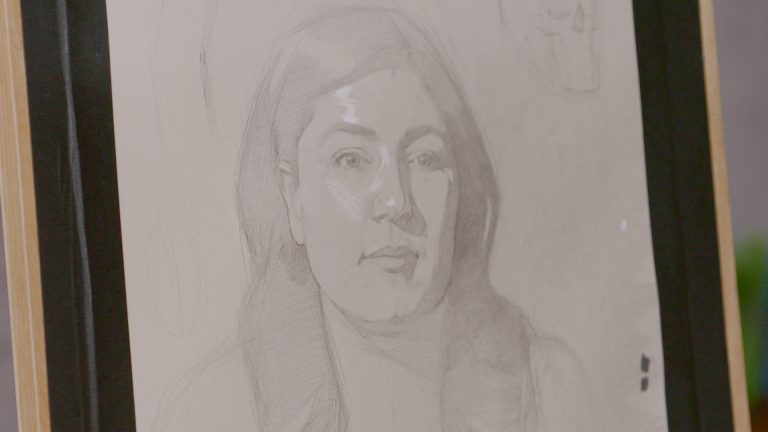
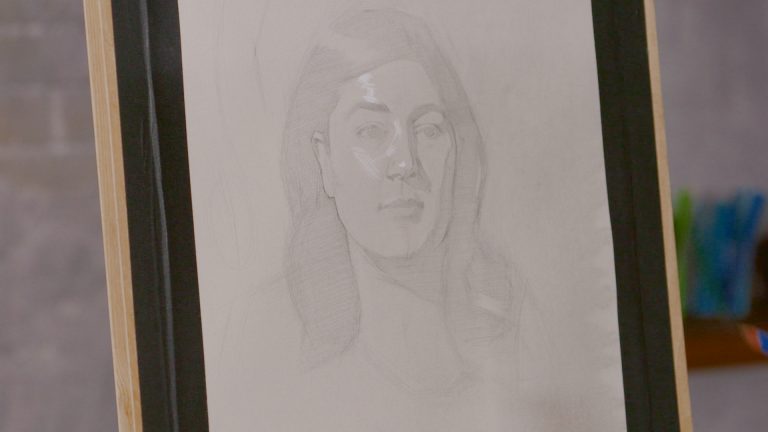
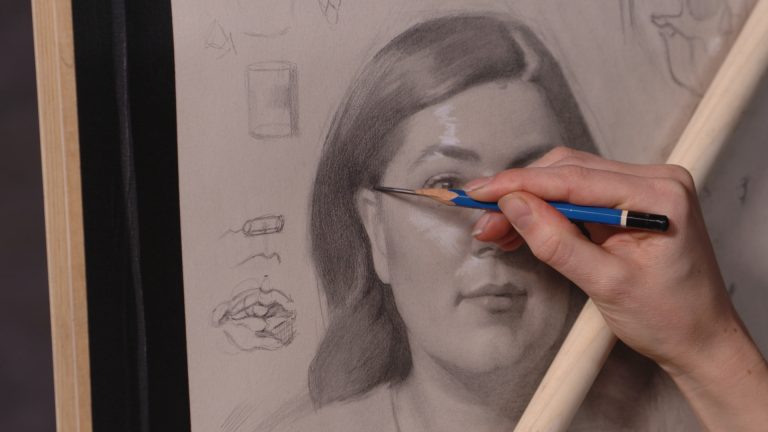
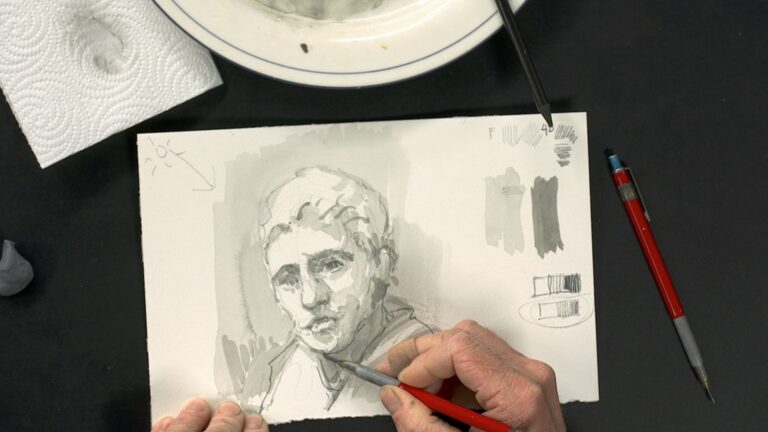
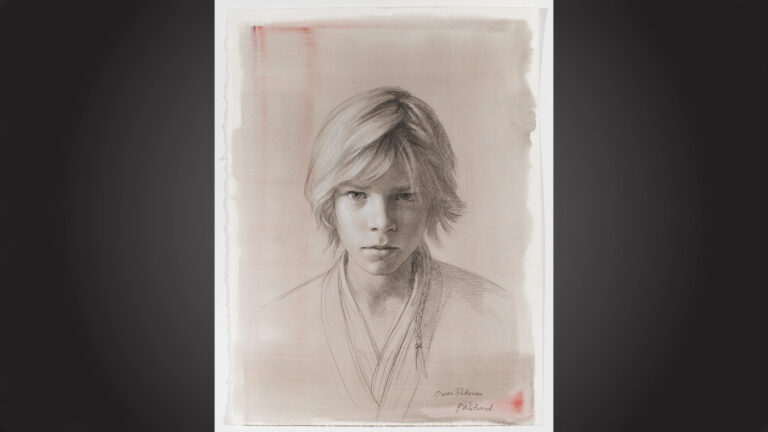
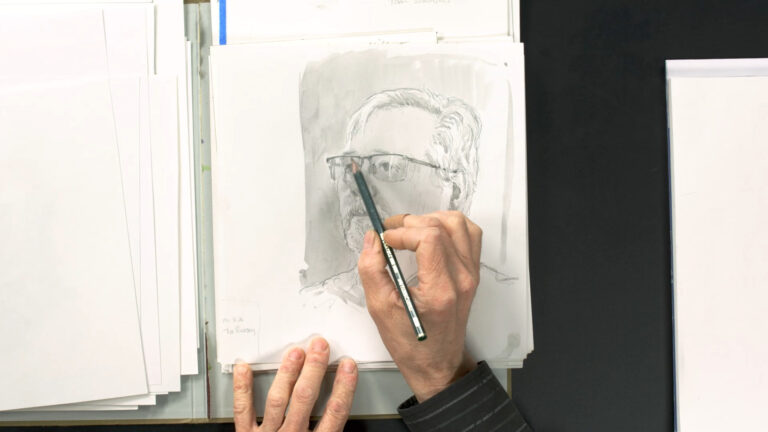
Savannah Tate CuffWith her portrait drawing partially completed through the steps of the flat block-in, three-dimensional block-in, and rendering (also called modeling) of the forehead and eyes, artist Savannah Tate Cuff is ready to render the nose. Savannah begins by explaining the basic planes of the nose, simplifying into four planes: the top plane, or bridge of the nose; a side plane; one plane underneath; and the second side plane, barely visible in the three-quarter perspective. This structure guides Savannah as she models the nose and avoids a symbolic outline and renders almost as if she were sculpting with the pencil.
As with other features, Savannah carefully darkens the terminator area on the nose — the boundary between light and shadow where the light “terminates” — and then models out of the terminator into the light area, creating a gradation from dark to light to achieve a realistic effect, noting that noses can have considerable variation. At the tip of the nose, there can be a separation between what’s called the alar cartilages. To simplify the ball of the nose, think of how the light source would affect a sphere, and again, model out of the shadow into the light-facing area. Take advantage of toned paper to do some of the work for you as you work with value. Avoid making a two-dimensional outline of the nose, and instead describe the full shape. Use your 2H pencil in lighter areas for subtle gradations and keep lines straight to describe the structure. And finally, don’t forget to use a Mahl stick when needed to avoid any smudging on the paper.
Explore videos by Savannah Tate Cuff


You may be interested in

Premium Membership
Unlock exclusive member content from our industry experts.
- 24/7 Access to Premium Visual Art Videos, Projects, and Tips
- Step-by-Step Instructional Demos, Guides, and Tutorials
- Access to Ask the Expert Program
Unlock exclusive member content from our industry experts.
- 24/7 Access to Premium Visual Art Videos, Projects, and Tips
- Step-by-Step Instructional Demos, Guides, and Tutorials
- 2 Full-Length Classes to Keep in Your Account for Life
- Access to Ask the Expert Program
Gold Membership
$340 Value
Get everything included in Premium plus exclusive Gold Membership benefits.
- 24/7 Access to Premium Visual Art Videos, Projects, and Tips
- Step-by-Step Instructional Demos, Guides, and Tutorials
- 4 Full-Length Classes to Keep in Your Account for Life
- 8 Downloadable Visual Art Guides
- Discounts on Purchase-to-Own Content in the Artist's Academy Shop
- Access to Ask the Expert Program
- Access to GOLD LIVE Streaming Events