Wet Mounting Paper
Stuart LoughridgeTired of your watercolor paper buckling or curling while you paint? In this detailed and encouraging video, artist Stuart Loughridge walks you step-by-step through the process of wet-mounting watercolor paper—a professional but accessible technique that helps your paper stay beautifully flat from start to finish. Whether you're a beginner just getting into watercolor or a seasoned painter refining your setup, this lesson will upgrade your process.
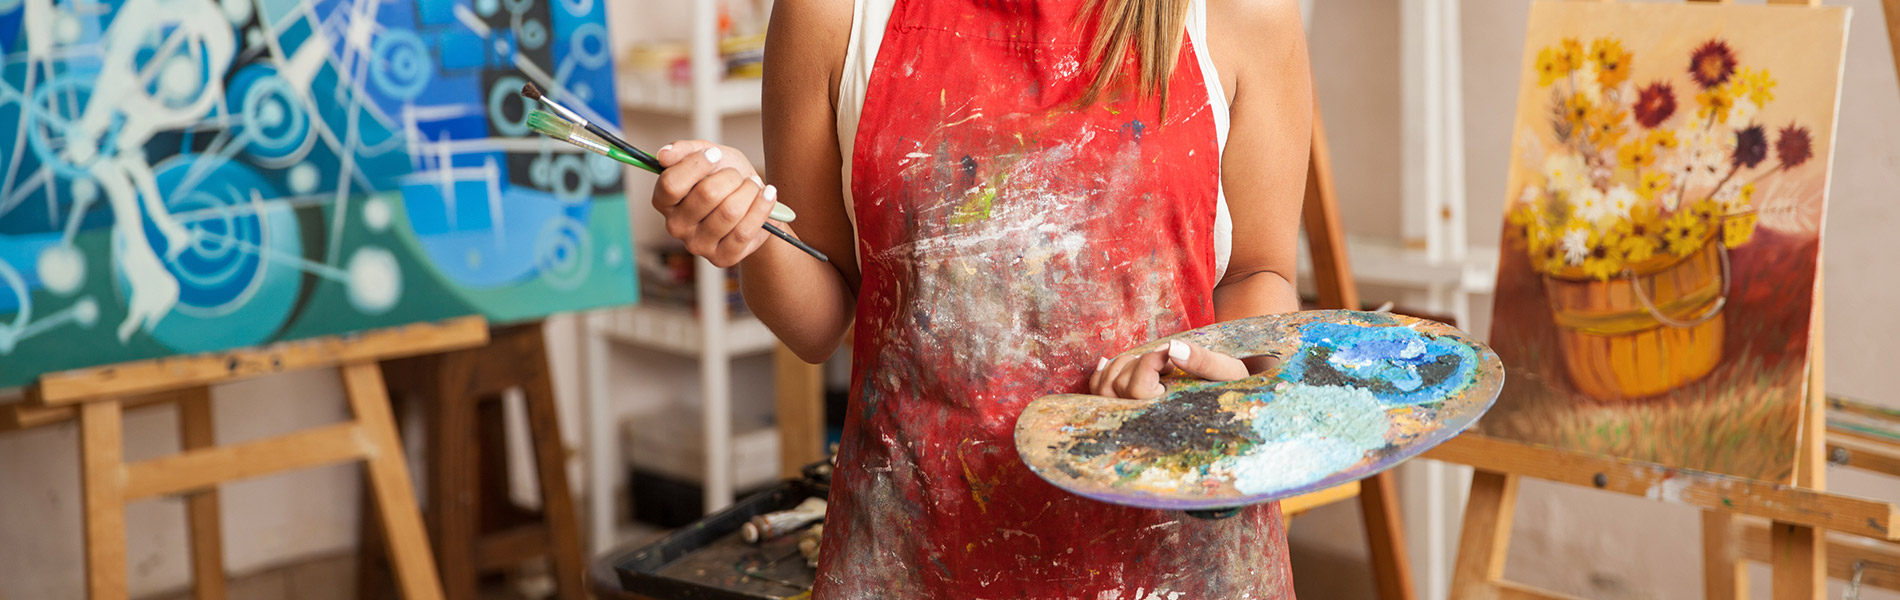
Stuart begins by explaining why wet-mounting is a game-changer compared to simply taping dry paper to a board. While painter’s tape can work for casual studies, wet-mounted paper gives you a reliably smooth surface—essential for layered washes, crisp details, and overall ease while working.
Using straightforward tools like a drywall board, gummed brown paper tape, a mister or roller-style envelope wetter, and a few household items, Stuart demonstrates how to prepare your surface, saturate and stretch the paper, and tape it down at just the right moment. Along the way, he shares invaluable tips on timing the paper’s moisture level, avoiding weakened tape seams, and choosing the right mounting surface.
You’ll even learn how to reuse old panels and how to wet mount paper with a finished painting already on one side—yes, it’s possible! Whether you're prepping a fresh surface for a new piece or rescuing a warped favorite, this technique will save you time and frustration.
By the end of this video, you’ll have a repeatable, pro-level method to keep your watercolor surfaces flat and studio-ready—so you can spend less time battling paper, and more time focused on painting.
Hi, my name is Stuart Lockridge. Here I wanna show you how to wet mount a watercolor paper. It's a great thing to know how to do, and you could do it in batches. It's fine to dry mount a piece of watercolor paper, uh using uh a high stick tack tape like, uh, you know, the green painter's tape or the blue painter's tape, but the green painter's tape has a higher stick, um, that's, that's fine to do. Uh, what you might run into is that the paper then tends to curl and warp while it's wet and then flattens back out and then you repaint it and it curls and wets and then flattens out again.
Uh, it's, it's fine to go about it that way, but when you wet mount a paper, it will just stay flat as you paint on it. It's a nice thing to do and uh it makes it makes the rest of the project much easier so I'll cover materials quickly. Here I have a piece of drywall. And I've wrapped the edges with some tape that uh tape can be glued on to this is a a a packing tape that's a it's a brown paper packing tape uh it's self adhesive and I wrap that around the edges of the drywall so the drywall doesn't shed uh onto my workspace, which is annoying. So I just wrap the edges and that way the tape that I am going to use the wet mount tape can actually stick to that paper if you're using like a duct tape, you probably won't get the wet mount paper to stick to the duct tape or uh say a packing tape, you know, it's just that that plastic won't uh won't be able to absorb the glue and so it won't create a bind.
So I have the drywall. I have my small piece of paper that I'm gonna be demonstrating the wet mount process with. I have a pencil I have this handy dandy thing uh I don't know what it's called exactly but it's used to uh wetten the tape or an envelope so it's out of porcelain. Has the roller and it has the. Uh, what the roller sits on.
And it sits right in there and there's a certain there's a slight dip into the cylinder so that as it turns it pulls the water up and creates a nice wet surface to roll the tape on. I have watercolor wet mounting tape. This is a big roll of 1 inch thick for a small sheet, 1 inch thick is just fine for bigger sheets, I use the 2 inch thick or the 1 inch and a half. This is about 1. 3/4 to 2 inches thick, and I'll use this for large sheets.
I have a mister. The orbital sprayer. Spend, uh, spend the money on a good spray bottle. I have a little extra water if I need it. And I have a piece of paper towel.
So the first thing, and this is the thing that takes some time, is we're gonna mist the paper and let those fibers absorb and swell. They need to sit for a few minutes and then once those fibers pass the peak point of being wet and start drying out, that's when we begin our wet mounting process. You don't want to wet mount it when the when the papers soaking wet. Um, and you can do this whether a painting is on one side of the paper or not, uh, so here I just have a blank sheet of paper that I'll be wet mounting, but say I had a painting on this, that's no problem at all. uh, you would just make sure to wet mount, uh, spray the back side, not the painted side, but the backside, um, and then you'll get a pretty good wet mount.
It's always a best wet mount if you do both sides. So first thing is I'll spray this out and get it nice and saturated and let those fibers expand and I'll wipe off all that water and let it sit for a few minutes and then while it's sitting I'll prep the tape and get this ready to go here we go. You can see here that that paper is dripping wet. So I'm gonna set it down. Just wipe that paper, uh, wipe all that water off the excess.
One thing I, I just forgot to do is I forgot to mark the tape edges. It's handy to have the tape edge marked so where I want that tape edge so I can do it while it's wet. I'm just gonna draw some lines here. You'll see why Uh, but be sure to mark these lines before you spray. So while that's sitting, I'm gonna rip some tape.
Two short sides and 2 long sides. I just take a quick eye. This tape is uh fairly inexpensive so you don't need to worry about exact uh lengths. I do this on a piece of plastic in case the water spreads out and. Right over the edge of the table so I can roll it over like that.
So I'm gonna let this sit for about. 2 minutes And I'll be back to do the taping of the paper and then we'll be all done. We're back. Uh, the paper has reached a good point. The fibers in the paper have reached a good point.
Uh, they've been saturated, expanded, and now they're starting to, they, they peaked, and now at this point I'm guessing they're gonna start, you know, they're, they're sitting there, but they might start contracting soon again and that's, that's when you wanna have the tape down when they start contracting, so I'm gonna pour a little water into. Into this wetter It's great if you can find one of these. If you can't find one of these, you can simply use a spray bottle. And I'll show you how to do that. Overfilled it So I'll use a spray bottle first and then I'll use the roller.
This is a long side. And you're just gonna Spray the whole thing, make sure it's completely wet so all areas of the glue are activated lay it down and with your wetted paper towel that's been wetted from the paper, just lightly. Drag it over the tape to spread that water out but don't pull off the glue. And then you're gonna follow that pencil line. And place your tape.
And rub it down. As you rub Be sure you don't use a nail to crease that inside edge because if you press too hard you're gonna weaken the fibers of the tape because they are wet and so they are uh soft and then that would then therefore as the paper dries and wants to curl it's gonna tear that that that weakened seam so all you do is you just push it with your finger, push it down I wouldn't use a bone press I wouldn't use anything too hard that could then uh compromise the strength of these fibers in the tape. So I'll keep going now on the roller. Just like that. And as it sets you're gonna wanna go around it once or twice and just make sure everything stays tacked down make sure the glue is fully adhered to the surface of the drywall and the paper.
And that should be good. Give it about 10 or 20 minutes to dry out completely and this paper is gonna stay completely flat as you paint on it so hopefully you can make use of this, uh, handy dandy technique and uh good luck on finding one of these online.
Share tips, start a discussion or ask other students a question. If you have a question for an expert, please click here.
Already a member?
No Responses to “Wet Mounting Paper”