
Rendering the Cheek
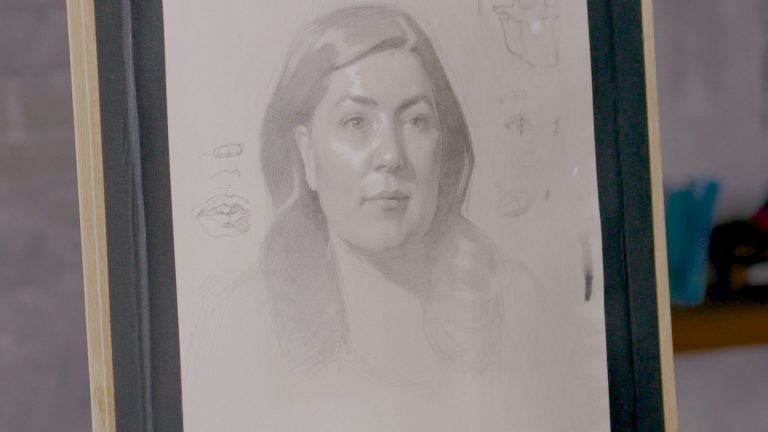
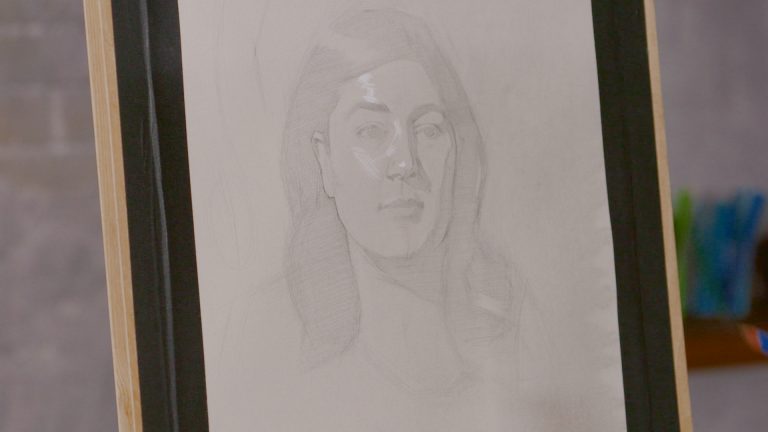
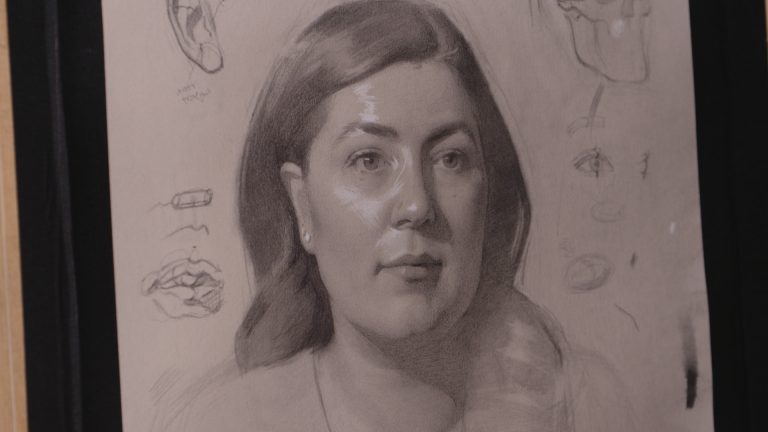
Savannah Tate CuffWhile the cheek area might seem simple to draw, artist Savannah Tate Cuff demonstrates how to draw this portion of a portrait drawing with nuance and anatomical accuracy. Beginning with a look at her model skull, she points out the important zygomatic bone—the structure that lies beneath the cheek and the adjoining edge of the eye socket—and how it might have a different effect on younger and older models. The angle of the jaw will also affect the cheek. Savannah’s live model, lit by a single light source, is young, so her cheek has soft curves.
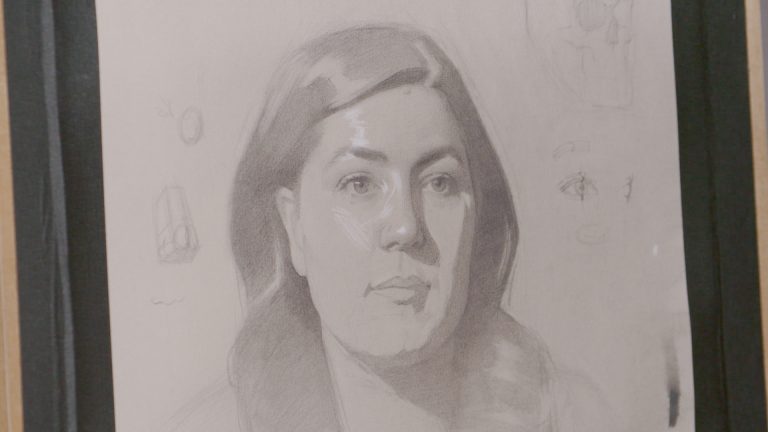
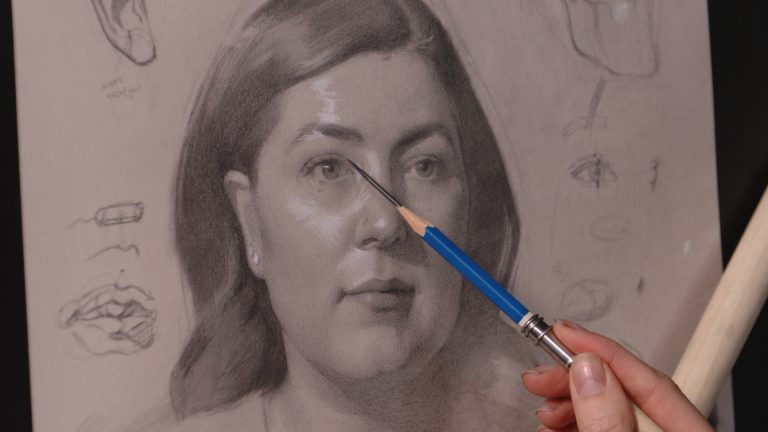
With block-in established, Savannah begins modeling in the cheek area under the eye, where the tone of the paper can do some of the work. With a 2H pencil, she adds subtle gradation to the outer side of the eye and the area where the eye socket meets the cheek. To avoid being daunted by rendering the full cheek area, she breaks it down into smaller planes and sections, and uses a brush to soften the gradations and speed up the process. She notes a white chalk highlight she wants to make more specific to inform the structure and the way the light falls there and in adjacent areas. Throughout the process, Savannah uses a Mahl stick to prevent any smudging.
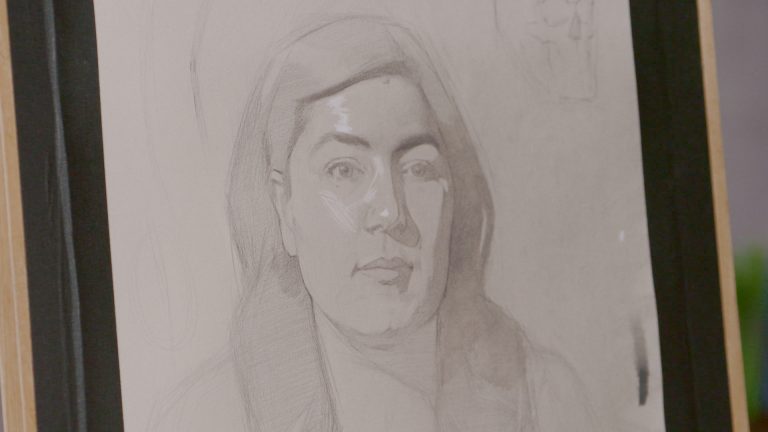
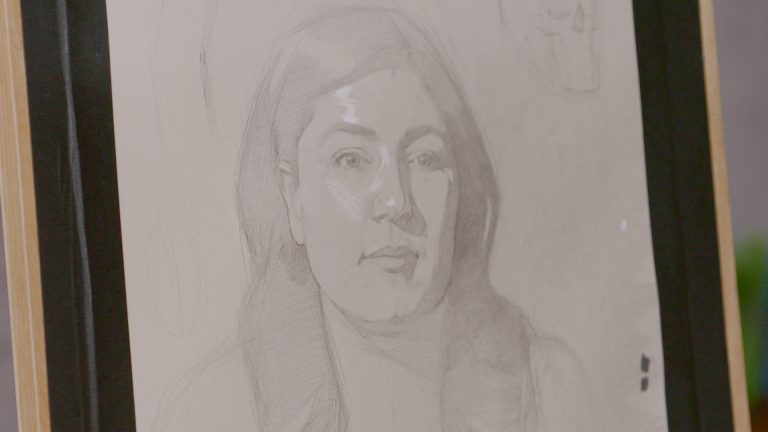
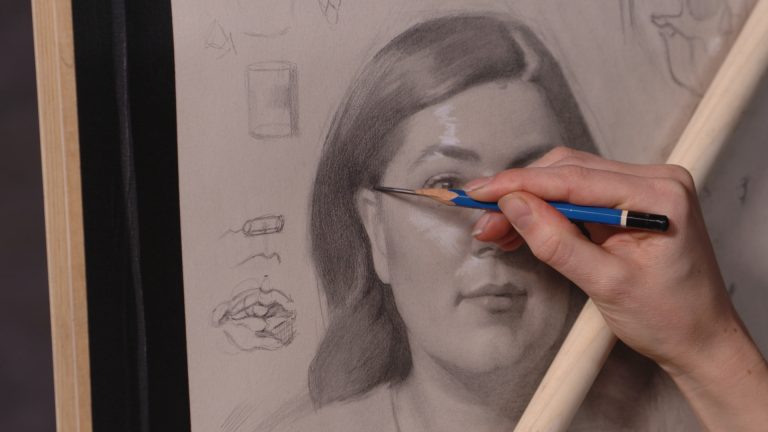
Savannah now turns to the other cheek in the three-quarter view, which has a strong terminator established. She develops a gradient into the light-facing area, noting the zygomatic bone, and adds dimension to the eye socket area. She also models the cast shadow of the nose, established earlier, and in all directions for three-dimensional realism, always keeping the shadow area flat and the gradations and half-tones into the light.
Explore videos by Savannah Tate Cuff


You may be interested in


Premium Membership
Unlock exclusive member content from our industry experts.
- 24/7 Access to Premium Visual Art Videos, Projects, and Tips
- Step-by-Step Instructional Demos, Guides, and Tutorials
- Access to Ask the Expert Program
Unlock exclusive member content from our industry experts.
- 24/7 Access to Premium Visual Art Videos, Projects, and Tips
- Step-by-Step Instructional Demos, Guides, and Tutorials
- 2 Full-Length Classes to Keep in Your Account for Life
- Access to Ask the Expert Program
Gold Membership
$340 Value
Get everything included in Premium plus exclusive Gold Membership benefits.
- 24/7 Access to Premium Visual Art Videos, Projects, and Tips
- Step-by-Step Instructional Demos, Guides, and Tutorials
- 4 Full-Length Classes to Keep in Your Account for Life
- 8 Downloadable Visual Art Guides
- Discounts on Purchase-to-Own Content in the Artist's Academy Shop
- Access to Ask the Expert Program
- Access to GOLD LIVE Streaming Events